


New customers start from scratch when working with Designer. There are neither documents nor segments and everything has to be created. As time goes by the number of elements increases. In most cases the team also grows. Sooner or later it is difficult to keep track of things.
There are several functions which can help users to find their way through all elements created by themselves and the team and to make teamwork even more efficient.
Searching and finding
What are you looking for? For every special answer there is a unique way to get to the desired result. In the left column of the following table you can find the elements you may look for. In the right column you can see which is the best way to find them.
| I am looking for… | You can best find it: |
| ..the document or segment I worked on recently. | personal area, tab “history” |
| …a document or segment I frequently need. | personal area, tab “favorites” Create a favorite for you frequently used elements to have quick access when you need them. |
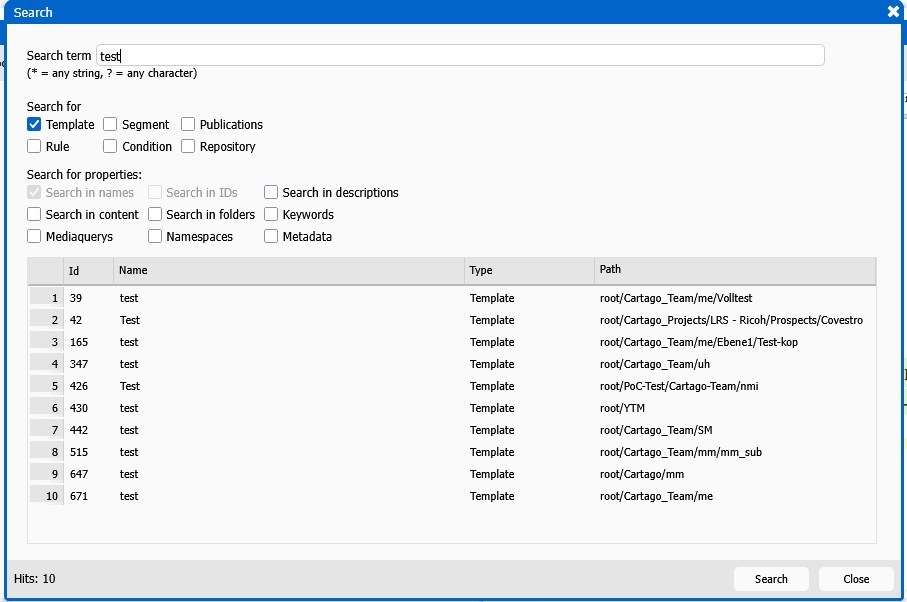
| …an element I know by name. | menu “file” – select “seach” Start a search with the default settings “search in names and check the desired element in “search for” |
| …an element with known parts of the description. | menu “file” – select “search” Start a search with the setting “Search in description” in “search for properties” |
| …an element with known parts of the content. | menu “file” – select “search” Start a search with the setting “Search in content” in “search for properties” |
| …an element which is in a folder I know by name. | menu “file” – select “search” Start a search with the setting “Search in folders” in “search for properties” |
| …an element with keywords I know. | menu “file” – select “search” Start a search with the setting “Keywords” in “search for properties” or open the target folder in the document tree and select the keyword from the drop down field above the document tree |
| …an element with a namespace, mediaquery of metadata I know. | menu “file” – select “search” Start a search with the setting “Mediaqueries”, “Namespaces” or “Metadata” in “search for properties” |
| …an element or elements which are included in a certain segment, rule or condition | go to the used element in the document tree, open the context menu and select “is used by…” |
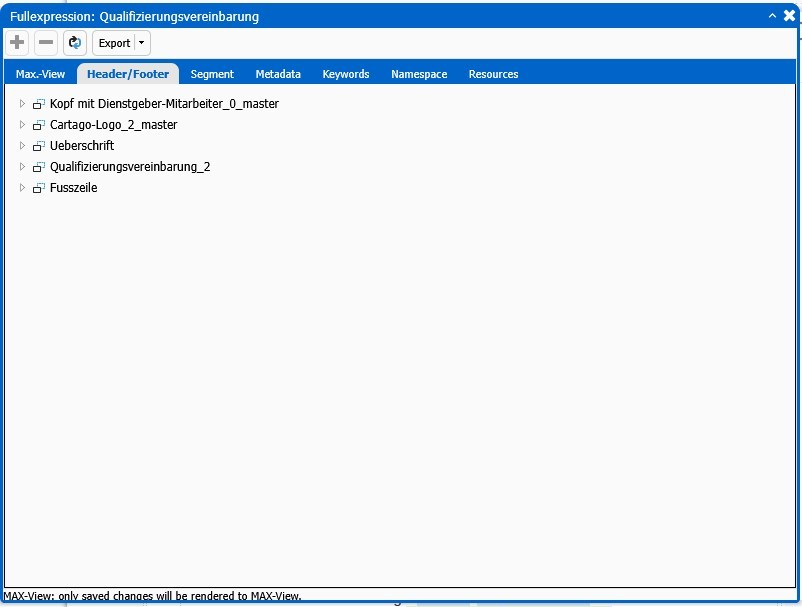
| …elements which are included in a document. | open document and select “Max-view” (button with the magnifier in the lowest buttom bar) |
The max view shows all segments, images and metadata being included in a document. In complex documents there are lots of tabs. You can open segments and images from the list. The following example shows a complex document with lots of content elements and metadata, thus showing a great number of tabs.
The search screen has been revised and offers more selection and differentiation options concerning the fields to be searched in. The footer now also shows the total number of hits.
Help yourself with notes
In Designer, there are two ways to create notes for yourself or for team collaboration. The difference is whether the notes refer to the entire document or segment or to individual areas of the document or segment.
In addition, a distinction can be made between notes, comments and help texts. They are comparable, but have or can get different layouts in accordance with internal guidelines to ease work.
The “Note” tab in the Info-Box down in the right column of Designer shows existing notes, comments and help texts. Every type can be individually formatted in the Admin Tool, so that the background color and the font weight quickly indicates the type of element. On the right side you see an example. But this is only one possible setting for layout.

You can find the same Note tab in Workspace. The following rules apply for Designer und Workspace:
- Notes from Designer will not be transferred to Workspace.
- Notes created in Workspace are only valid for this special version of the document in Workspace.
- If there are older versions of this document in the Workspace queue they will not get the notes created in the newer version.
- If you send the same document to Workspace again later on, this version will not inherit the notes from the previous version.
The second type of notes is related to distinct places within a document or a segment. The icon shows you the position. If you move the mouse over the icon you will see the message. It can be entered in a special screen in the “Insert” menu using the “comment” entry.
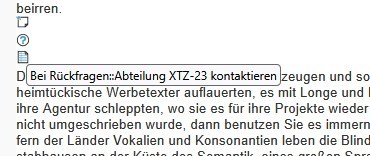
These notes are only displayed in the editor. In the pdf preview, they are automatically hidden. In contrast to the notes in the info box in the document, they are transferred from Designer to Workspace and are also available there.
If you don’t want the icons to be visible in the editor, you can hide them using a special button. The “Notes” button is located in Designer in the lowest button bar right to the page counter. In Workspace, the button can be found in the lower area of the menu bar on the right side.
Who is who of colors
The more complex a document is in Designer, the more colors are used in it. If this is too colorful for you, you can turn off these “design helpers” using the button of the same name in the toolbar. However, if you know the colors and their meaning, you can quickly get an overview of the structure of the document.
Here is a list of the colors and their meaning:
A yellow background indicates that the content comes from a segment. In text only segments with spaces and blank lines, the yellow background is clearly visible. In segments with images, usually only a narrow yellow border remains visible.
A green background indicates that the content comes from the data source. In preview mode you will see the value, in codeview mode the path.
A blue background indicates a switch between different cases using conditions. In codeview mode you can see all details. From there you can also access the screens to work on rules or conditions.
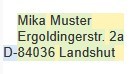
This example combines all three colors. The address with the value from the data source (green) is included in a segment (yellow). Additionally, a value from a condition (blue) is added in the template.
A green and yellow background indicates an input field which must be filled with appropriate content in Workspace. The text shown is the name of the field.
A gray line with light green borders on the right and left indicates that the “Keep words together” function was used here. The functionality is available from the “Insert” – “Keep elements together” menu and ensures that the selected text is not interrupted by a line break.
A gray block with red borders on the right and left indicates that the “Keep block together” function was used here. The functionality is available from the “Insert” – “Keep block together” menu and ensures that the selected text is not interrupted by a page break.
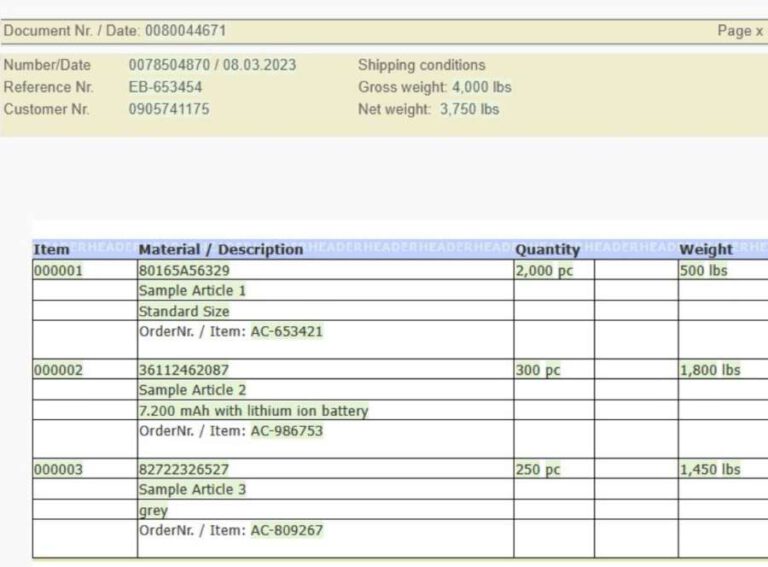
Blue header and footer lines in tables with different background text indicate that you are dealing with a dynamic table.
We hope that these informations were useful for beginners to document design and maybe also a useful reminder for more experienced designers.