


The software suite for your digital dialogue: Simplify your workflow

Segment-oriented design and management of templates: intuitive and browser-based

Clerk workstation for interactive document processing (thin client)

Automated production of documents for OnDemand / Batch / Label / Email / Print and Archive processes

Data retrieval & consolidation of data from different data management systems

Electronic signatures for easy workflows

Tool to simplify staging and workflow processes

Document version comparison tool

Customer and employee portal for document processing

Digital solution for payroll accounting for groups | enterprises | large companies

Solution specifically for enterprise label design Production | Logistics | Declaration

Solution specifically for e-commerce and online trade

Planning | scheduling | template control and deployment management

Lösungen speziell für S/4Hanna und SAP

ZUGFeRD oder XRechnung
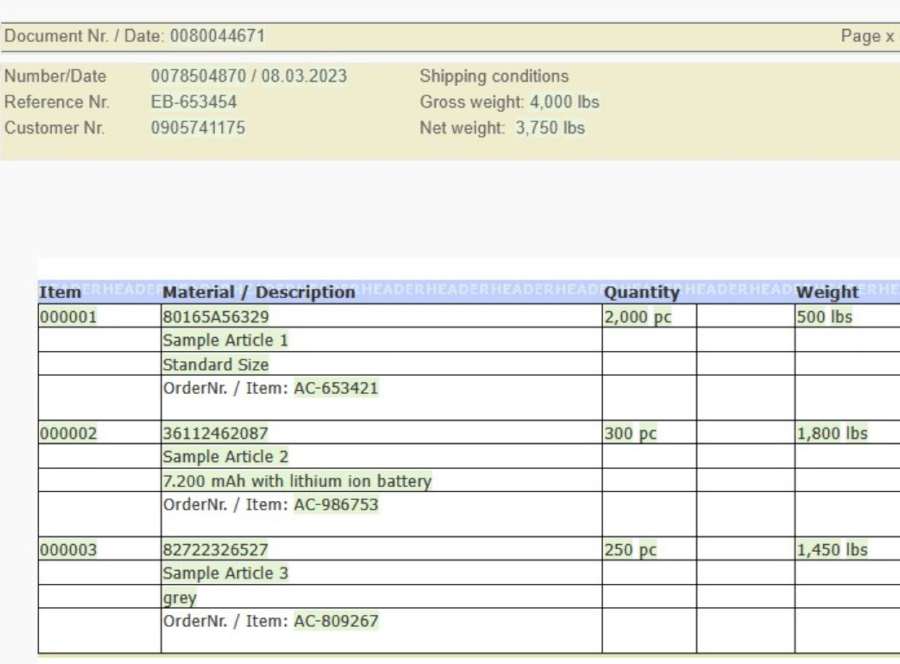
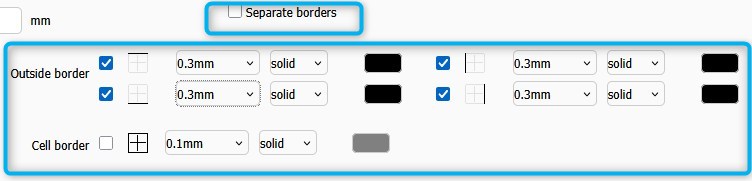
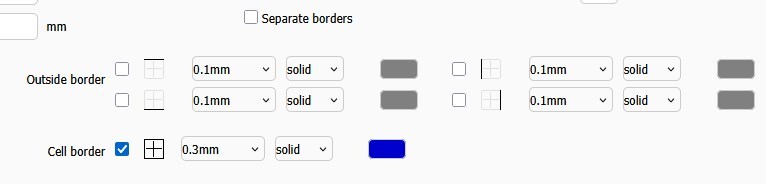
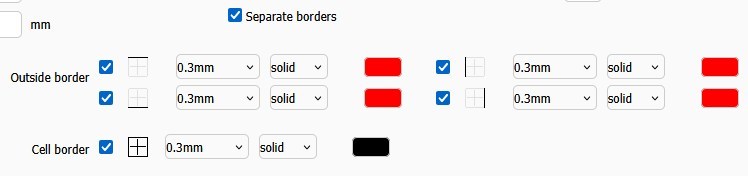
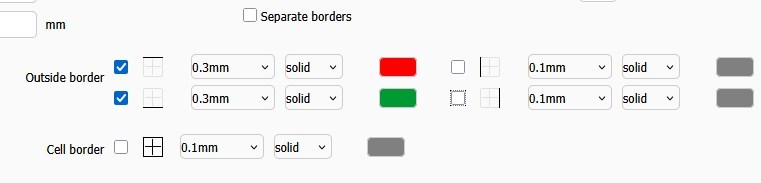
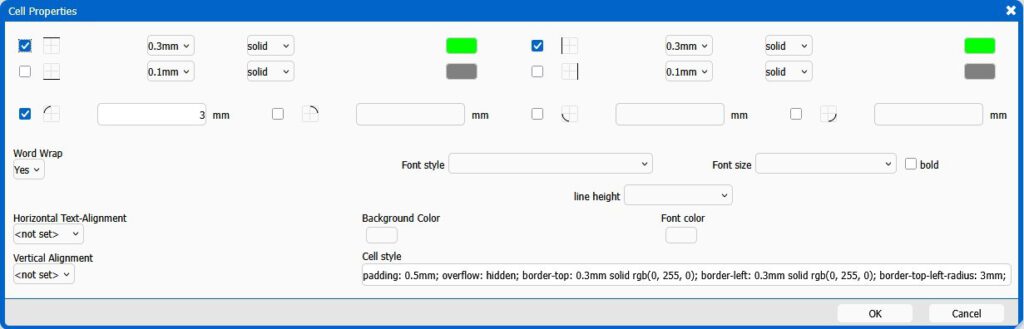
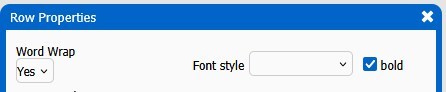
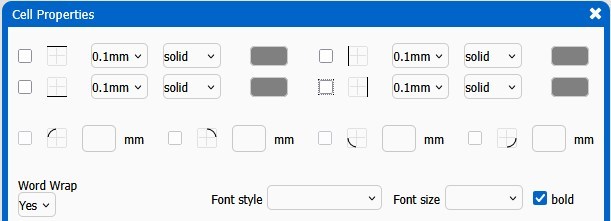
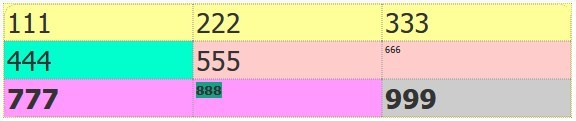
As promised in our last post on tables we continue to assist you in table

Using Designer and related products from Cartago® Live Suite such as DocEngine, Workspace and others

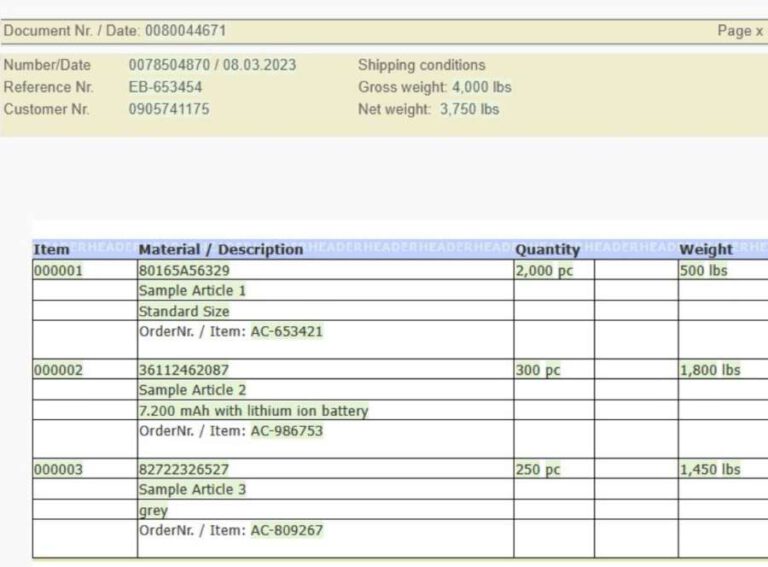
A lot of testing was done and so we can release Designer, Workspace and Admin-Tool
Cartago Designer can be used to create documents of all kinds, including html-documents. With its